Subscribe to dotcomUNDERGROUND RSS Feed dotcomUNDERGROUND RSS Feed Add to Google Toolbar Add to Google Reader or Homepage Add to netvibes Add to Pageflakes  Windows Live Alerts
Get updates by email:    

How to run Web Server from USB Flash Drive


Posted on Sunday, October 8th, 2006 at 2:39 pm
[ Comments RSS Comments RSS ] [ Trackback Link Trackback URL ] [ Share This ] [ PDF Version Download PDF ]

This tutorial will guide you to run an Apache web server with PHP and MySQL right from your USB flash drive (pen drive, thumb drive). No installation. Just plug and run!

Pretty handy thing to show or discuss a dynamic web project with a client or teacher.

To get started first we need to download XAMPP Lite from ApacheFriends.org
You can get the package here:

Download XAMPP Lite

Web Server on USB Flash Installation

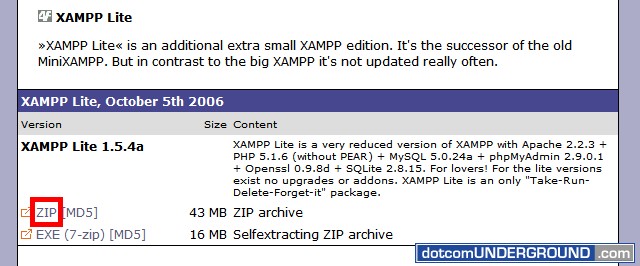
Download and extract the .zip archive.

Inside you will find a folder xampplite
XAMPP Lite

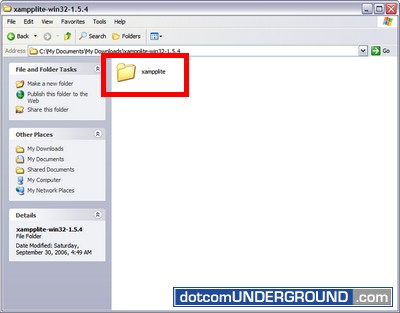
Now plug-in your USB Flash Drive and copy this folder there.
Web Server on USB Flash

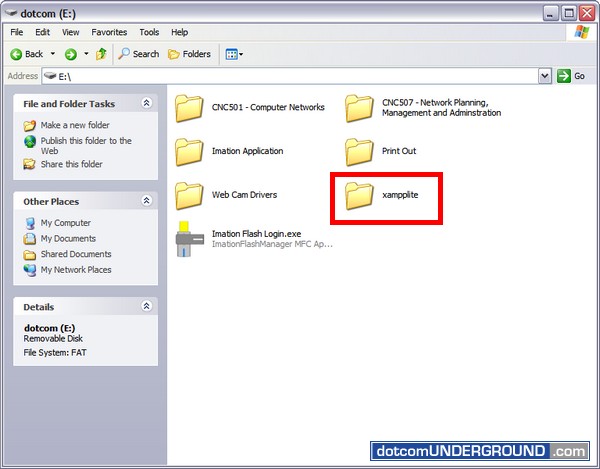
Congrats!! You now have a web server on your flash drive.

Now its time to run our web server.

Open the xampplite folder in your flash drive. Run the xampp-control.exe
XAMPP on USB Flash

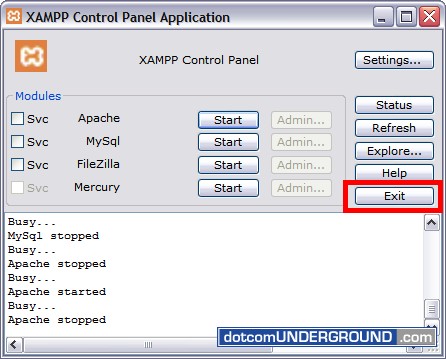
The XAMPP Control Panel appears.
XAMPP Control Panel

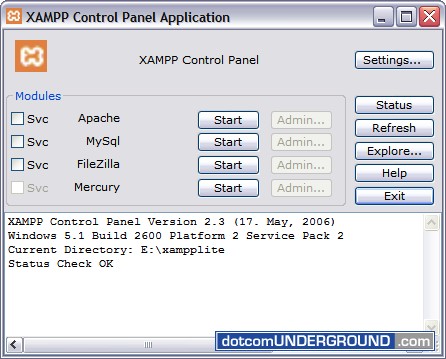
We have our Start buttons next to the service name to start a service.
Apache on USB Flash Drive - Start

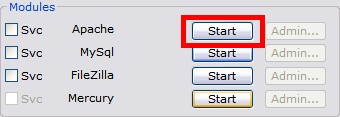
Click on them to start a service.

We get the Admin button to manage a service when its running.
Portable Apache Admin

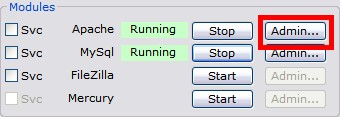
Clicking on the button takes us to the XAMPP admin screen.
Web Server on Flash Drive Control Panel
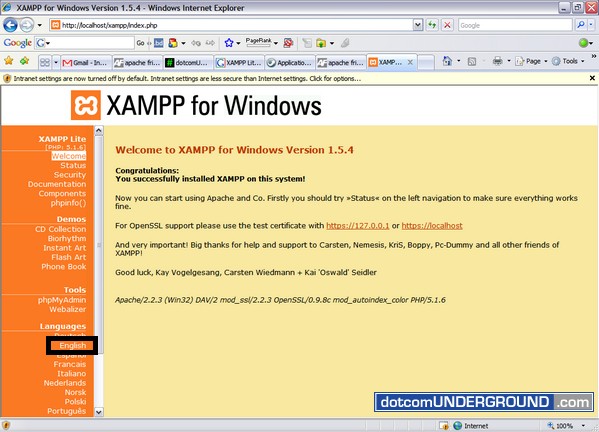
You might need to click on Language > English if its not being shown in default.

Your Apache document root is E:\xampplite\htdocs (when E: is your flash drive)
Apache on USB Flash Document Root

If you are wondering why you are taken to http://localhost/xampp/ whenever pointing your browser to http://localhost/ , its because the http://localhost/index.php (E:\xampplite\htdocs\index.php) is redirecting you there. You can replace it with your own if you prefer.

We can stop the services clicking on the Stop button next to running services.
Portable Web Server Stop Service

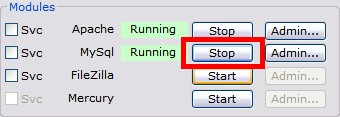
Dont forget to Exit the XMPP Control Panel before un-plugging your flash drive.
Web Server on USB Flash Exit

Link to this article:


Tags: , , , , , , , , ,
Search with Google:
 
Web dotcomUNDERGROUND
This entry was posted on Sunday, October 8th, 2006 at 2:39 pm and is filed under Tech, Tips and Tricks, Tutorials. You can follow any responses to this entry through the RSS 2.0 feed. You can leave a response, or trackback from your own site.

Leave a Reply

People come here looking for: xampp usb (744), xampp on usb (204), xamp usb (68), usb webserver (47), xampp flash drive (43), xampp usb drive (35), xampp for usb (32), xampplite usb (28), usb xampp (28), XAMPP+flash+drive (24), GWS server (20), xampp portable (19), portable webserver (18), xampplite portable (18), xampp on usb drive (17), install xampp on usb (16), drive (16), xampp usb install (15), thumb drive web server (14), xammp usb (14), GWS web server (14), xampp usb installation (13), install xampp usb (12), webserver on usb (12), xampp on flash drive (12), usb web server (12), xampp in usb (11), gws google download (11), portable xamp (10), webserver pendrive (10), xampp usb (10), Web Server (10), Portable Web Server/ (9), XAMPP flash (9), GWS/2.1 (9), xampp on a usb (9), xampp thumbdrive (9), xampp thumb drive (9), xampp from usb (9), all (8), thumbdrive webserver (8), XAMMP on usb (8), GWS webserver (8), usb xamp (8), web server flash drive (8), xampp lite (7), pendrive webserver (7), webserver on usb drive (7), xampp pendrive (7), xampp usb flash (7),